
High-quality product photos are important for success on Amazon. Product images are the leading factor influencing purchase decisions, with professional photos boosting conversion rate by up to 30%.
On Amazon, your main image is the first thing shoppers see, a crisp, clear photo can mean the difference between a click and a pass on. Conversely, poor or noncompliant images can suppress your listing or even get it removed.
This guide walks you through everything from the basics to advanced techniques of Amazon product photography, ensuring your images follow Amazon’s rules and engage customers at every level of your selling journey.
Why High-Quality Images Matter on Amazon
Product photos are essentially your silent sales team on Amazon. They jump off the search results and tell customers exactly what to expect.
customers judge products by their images first; a well-lit, high-resolution image immediately builds trust in quality.
Better images can make your listing stand out, improve click-through rates (CTR), and ultimately increase sales.
Improved images often correlate with higher organic ranking, because better visuals lead to higher CTR and conversions. If you treat SEO as “for the bots,” then images are for the humans.
1. Boost Conversions
Clear product photos let customers zoom in on details, reducing uncertainty and lowering return rates.
2. Build Trust
Sharp, accurate images convey professionalism. Blurry or underexposed pictures make shoppers question your credibility.
3. Differentiate Your Brand
Consistent, high-quality images across your catalog establish a strong brand identity and help loyal customers find you.
Whether you’re a beginner or an advanced seller, investing time (or money) into great photos is one of the most cost-effective ways to improve your Amazon sales.
4. The Direct Business Impact
The business impact of high-quality Amazon photos is substantial, as each optimized image you add to your listing works to improve key metrics that directly affect your profitability and brand health.
| Metric | Impact of Optimized Photography | Example Action |
|---|---|---|
| Conversion Rate | Clear, multi-angle shots and lifestyle images help shoppers visualize the product, reducing hesitation and increasing “Add to Cart” actions. | Add an in-use lifestyle photo showing the product solving a customer’s problem. |
| Click-Through Rate (CTR) | Your main image fights for attention on a crowded search page. A vibrant, professional photo grabs the eye and earns the click. | A/B test two different main images to see which one drives a higher CTR. |
| Return Rate | Detailed shots showing scale, texture, and color prevent surprises. When the product matches the pictures, returns plummet. | Include an infographic image with exact dimensions and a size comparison. |
| Brand Trust | Professional, cohesive imagery across your catalog signals that you’re a serious brand that cares about quality and customer experience. | Use the same lighting and background setup for all main images in your product line. |
By improving these metrics, your photos contribute to a healthier, more profitable Amazon business, saving you money on returns and building a loyal customer base. When you get your photography right, you’re justifying a premium price, cutting down on customer service questions, and building a brand that shoppers will trust and return to.
Want to see the bigger picture? Digging into strategies for improving ecommerce conversion rates through product page optimization will show you how stellar images work together with every other element on your listing to drive sales.
The e-commerce product photography market is set to grow from USD 0.85 billion in 2025 to USD 2.38 billion by 2034. Why? Because 65% of consumers are visual learners who depend on images to make a buying decision. You can learn more and explore the market’s growth on Proficient Market Insights.
Amazon Image Guidelines
Amazon enforces strict image guidelines to maintain quality and consistency. Before taking any photos, understand these rules, as non-compliant images can lead to listing suppression.
File Formats & Size
- Amazon accepts JPEG, PNG, TIFF, and GIF (non-animated).
- JPEG is preferred for its balance of quality and file size.
- Images must be 72 dpi or higher.
- Maximum size: under 10,000 pixels on the longest side and up to 10 MB file size.
Resolution & Zoom
- To enable Amazon’s zoom feature, images should be at least 1,000 pixels on the longest side.
- For optimal zoom, use 1,600–2,000 px. Many sellers use 2,000 × 2,000 px square images.
Color Profile
- Use sRGB color mode.
- This ensures accurate color display across devices.
- Avoid uncommon color spaces or color casts.
File Naming
- File names must include the product identifier (ASIN, ISBN, EAN, JAN, or UPC) followed by the file extension (e.g., B000123456.jpg).
- No spaces, special characters, or symbols.
- Proper naming prevents technical rejections.
Main Image Guidelines
Your main (featured) image is the most important photo and must follow these strict rules:
Pure White Background
- Background must be pure white (RGB 255,255,255).
- Even slight off-white or gray can cause rejection.
Product Coverage
- The product must fill about 85% or more of the frame.
- The product should dominate the image without excessive empty space.
Product Only (No Extras)
- Show only what is included in the sale.
- No props, accessories, or unrelated items.
- Unrelated objects are not allowed.
No Text or Graphics
- No logos, watermarks, text, borders, or promotional badges.
- Graphics are never allowed on the main image.
Entire Product in Frame
- The full product must be visible and not cropped.
- Minor exceptions apply only to certain jewelry items.
No Models in Main Image
- No people allowed in the main image.
- Apparel exceptions:
- Men’s and women’s clothing must be shown on a live model.
- Kids’ clothing must be off-model (flat or mannequin).
- Shoes must be shown as a single shoe at a 45° angle.
These rules create a clean, no-frills “mugshot” of the product. Always follow Amazon’s official image standards to avoid suppression.
Secondary (Additional) Images
Once your main image complies, use additional images to provide context and detail. Most categories allow up to 9 images total (1 main + up to 8 additional).
Different Angles
- Show front, back, sides, top, bottom, and diagonal views.
Lifestyle Shots
- Show the product in use or in a realistic setting.
- Helps shoppers imagine ownership and increases engagement.
- Avoid clearly recognizable faces to prevent privacy issues.
Close-Ups / Detail Shots
- Highlight key features such as texture, stitching, ports, controls, or materials.
- Especially important for technical or detailed products.
Infographics / Text Overlays
- Allowed only on non-main images.
- Use concise text, arrows, or diagrams to explain features, dimensions, or benefits.
- Keep text clean, readable, and non-promotional.
Packaging
- Include packaging images if the box is important (gift boxes, collector editions, instructions).
- Do not include packaging in the main image unless the product itself is the box.
Amazon recommends using as many images as possible to increase buyer confidence. Each additional image helps answer questions, reduce objections, and improve conversion by visually reinforcing product value.
This Amazon Product Image Requirements Guide is something the platform actively enforces. Following these rules doesn’t just keep your listing from being flagged; it makes your product look professional and trustworthy.
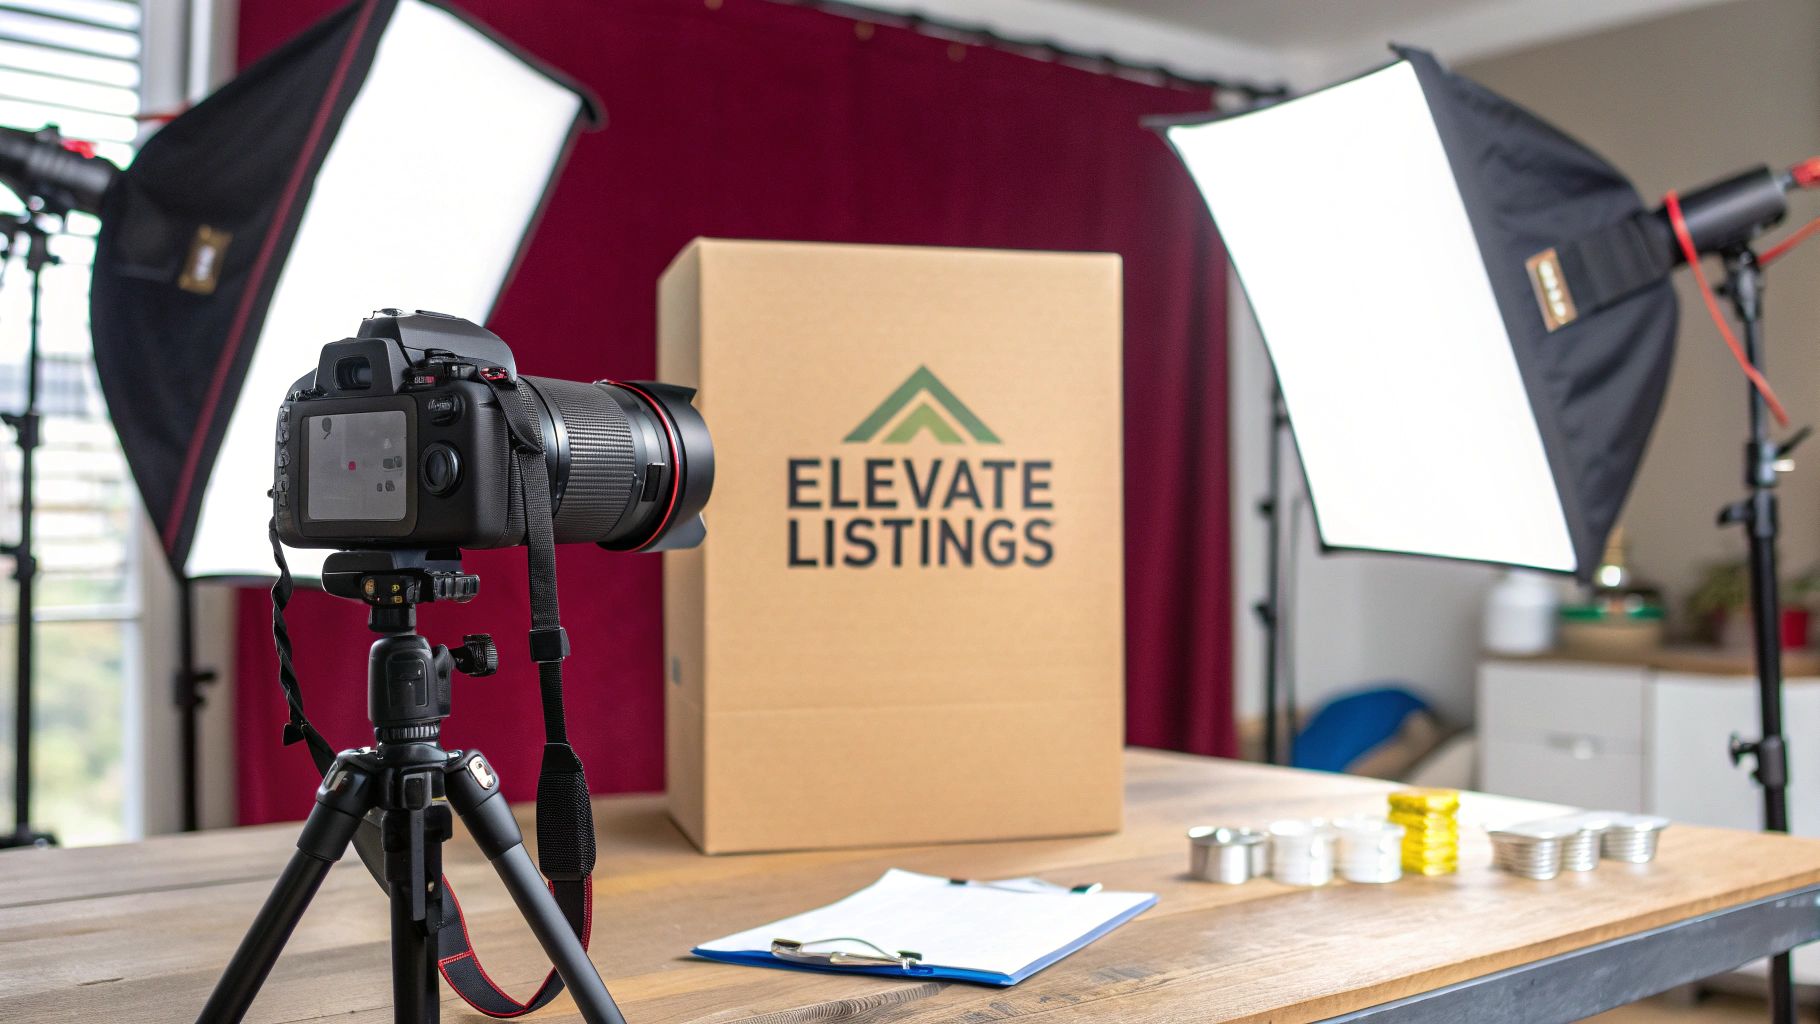
Essential Equipment for Product Photography
Building a simple home studio or office setup can dramatically improve your photos. You don’t need Hollywood gear, but certain equipment is highly recommended:
| Equipment | Description & Use Case |
|---|---|
| Camera / Smartphone | DSLR or mirrorless (e.g., Canon, Nikon, Sony) for highest image quality; smartphones (newer 12+ MP) can work for beginners. Modern phone cameras (with tripods and manual apps) can produce excellent results on a budget. |
| Lenses | Prime lenses like 50mm or 35mm for general product shots; 85mm lenses flatter apparel; macro lenses for tiny details (jewelry, electronics ports). If using a phone, consider clip-on macro lenses. |
| Tripod / Stabilizer | A sturdy tripod is a must for sharp, consistent framing. It allows precise composition and keeps shots identical from angle to angle. Even smartphone tripods are affordable and help avoid blur from hand-holding. |
| Lighting | Quality lighting is critical. Use continuous LED panels, softboxes, or ring lights to evenly illuminate the product. For larger setups, studio strobes or flashes with diffusers are ideal. Natural light (near a window) can work, but be ready with reflectors or foam bounce cards to fill shadows. |
| Light Tent / Box | A collapsible light tent (white photo box) helps shoot small items (jewelry, gadgets) by creating a seamless white environment with diffused light. These often include built-in LED strips or simple openings for your light source. |
| Backdrop | A roll of white paper or fabric for your main shots. Amazon’s rules require a pure white background, so a portable white sweep or vinyl background is useful. Colored or thematic backdrops can be used for secondary images if they fit your brand. |
| Reflectors & Diffusers | White foam boards, silver/gold reflectors, or light diffusers soften harsh light and eliminate shadows. They’re inexpensive and essential for balanced lighting. |
| Remote / Shutter | A wireless remote or camera timer avoids camera shake when pressing the shutter. Even a cellphone shutter remote can improve sharpness. |
| Editing Software | Tools like Adobe Lightroom/Photoshop or free alternatives (GIMP, PIXLR) let you crop, adjust color/brightness, remove backgrounds. In 2025, many sellers also use AI tools (e.g., remove.bg, Luminar AI) to speed up retouching. |
1. Composing the Shot
Setup and composition can make or break a product photo. Best practices include:
- Use a Tripod & Consistent Framing: Mount your camera (or phone) on a tripod to keep every shot steady. Maintain the same distance and angle across multiple images of the same product, so all shots look cohesive on your listing.
- White Balance: Match your camera’s white balance to your light source (daylight, tungsten, etc.). This ensures the white background is true white and product colors are accurate.
- Fill the Frame: Position the camera so the product fills about 85% of the frame. Avoid zooming in so close that important parts get cut off, but also don’t leave excessive empty margins. The product should appear prominently without crowding.
- Eye-Level or Slightly Above: For most products, shooting at eye level or slightly above gives a natural perspective. Experiment: for tall items (like vases), shoot slightly downward; for flat items (like shirts), shoot straight on or use a flat-lay.
- Rule of Thirds: Useful for secondary or lifestyle images. Place the product off-center with negative space for dynamic composition.
- Background and Props: Main images get pure white backgrounds. Secondary images can use simple props or colored surfaces, but the product must remain the focus.
2. Lighting Techniques
Quality lighting is essential. Poor lighting creates harsh shadows, overexposure, or color casts.
- Even Illumination: Use softboxes or diffusers to create shadow-free light. Position a main light at a 45° angle and a fill light opposite. For reflective or small items, add top or back lighting.
- Natural Light: Shoot near a north-facing window or on an overcast day. Use foam board reflectors to bounce light and maintain consistency.
- Avoid Flash: On-camera flash often produces flat light. Use off-camera flash with diffusers or continuous LED panels/light tents for consistency.
- Document Your Setup: Keep notes or photos of light positions and camera settings for reproducibility and brand consistency.
3. Shooting Tips
- Shoot in RAW (if possible): Retains more data for post-processing. Use highest JPEG quality if RAW is unavailable.
- Manual Camera Settings: For DSLR/mirrorless, use manual mode. Higher f-stop (f/8–f/11) for deep depth of field. Keep ISO low to reduce noise.
- Multiple Shots: Take several photos from different angles, distances, and lighting variations.
- Use a Turntable (Advanced): Rotating platforms help achieve consistent 360° product views.
- Highlight Key Features: Capture close-ups of important details (textures, engravings, controls). For example, zoom on a blender’s control panel.
Post-Processing and Image Editing
Editing your photos is essential to meet Amazon standards and present your product at its best. Key edits include:
Background Cleanup
Ensure the white background is truly RGB (255,255,255). Use tools like the Magic Wand or Select Subject in Photoshop to isolate the product and remove any color cast. AI background removers (e.g., remove.bg) can automate this step. Always check the edges for halos or jagged cuts.
Color and Exposure Adjustments
Adjust brightness, contrast, and color saturation so the product looks true-to-life but vibrant. Correct any underexposure or color tints. The goal is accurate color representation and clean lighting.
Sharpening
Apply moderate sharpening to enhance details, especially for soft-looking images. Avoid over-sharpening, which can introduce artifacts. Useful for zoomed-in details and textured products.
Crop and Align
Crop images to square for the final upload. Center the product unless intentionally using an off-center composition. Maintain consistent image dimensions across all listing photos.
Remove Distractions
Erase dust, lint, scratches, or reflection spots. Use tools like the Clone Stamp or Healing Brush. Only retain reflections that accurately represent product gloss. Amazon advises: “Remove unwanted items: sometimes an item used to style an image or spot on a background can be distracting.”
Don’t Over-Edit
Remove glaring flaws but avoid making the product look “Photoshopped” or misleading. The product must match reality.
AI-Powered Editing Tools
Tools like Luminar Neo or Adobe AI features can automate background removal, lighting adjustments, or detail enhancement. Always verify the output meets Amazon’s pure-white background requirement.
Saving Images
Compress and save final images in JPEG format at high quality. Use the sRGB color profile, remove layers, and keep file sizes under 10 MB.
Optimizing Images for Amazon (SEO & User Experience)
Although images aren’t directly keyworded like titles and bullets, they influence SEO indirectly by affecting engagement and user experience. Key practices:
Use All Available Slots
Upload the maximum allowed images (usually 6–9). More images increase chances to impress shoppers and improve ranking.
Add a Video
Include a product video when possible. Videos improve conversions and engagement.
Image Filenames and Alt Text (A+ Content)
Standard listing images require ASIN/UPC filenames. For A+ Content, fill image keywords/alt-text fields with relevant search terms, secondary keywords, or common misspellings. Prioritize non-decorative images.
Fast Loading
Optimize file size without visible quality loss to improve load times. Slow-loading images can reduce engagement.
Brand and Style Consistency
Maintain consistent visual style across multiple products (background, lighting, positioning) for professional, recognizable listings.
A+ Content & 360°/AR
Enroll in Brand Registry to access A+ Content and 360°/AR features. Rich images, comparison charts, and 3D models improve conversion and allow customers to visualize products in their space.
Advanced Images Techniques
Advanced techniques help your listings stand out by providing interactive, detailed, and immersive visual content that enhances buyer confidence. These methods are particularly useful for high-value or visually complex products.
360° Product Views
Capture multiple images on a turntable and create interactive 360° spins. Allows customers to inspect products from all angles. Requires multiple shots and special software.
Product Videos
Short demo or lifestyle videos embedded in listings increase engagement. Show product in use, highlight features, or unbox. Keep videos under 3 minutes and include captions or voiceover.
Augmented Reality (AR) Models
Supply 3D models for Amazon’s View-in-Your-Room feature. Effective for furniture, home décor, and fashion. Enhances buyer confidence and may reduce returns.
Macro and Micro Photography
Use macro lenses or modes for detailed products (electronics, jewelry, cosmetics). Close-up shots showcase textures or features, while adhering to Amazon’s rules.
User-Generated Content (UGC)
Encourage customers to post real photos. Showcase top user photos in A+ Content or storefronts to build authenticity.
AI and Software Innovations
Tools like AdCreative.ai or Freepik AI can generate marketing images or remove backgrounds. Verify AI outputs adhere to Amazon TOS and accurately represent the product.
Checklist & Best Practices
Ensuring your product images meet Amazon standards requires careful attention to detail and ongoing evaluation. Following a structured checklist helps maintain quality, consistency, and effectiveness across all listings.
Image Count
Upload all allowed images, including one or more of each type: main, lifestyle, infographics, etc. More images generally improve conversion by giving shoppers multiple perspectives of your product.
Consistency
Use the same lighting style and color balance across all images for a single product, and ideally across all products in a line. Consistency reinforces brand identity and professionalism.
Optimize One by One
Review each image individually using the Amazon listing page preview. Ensure there are no error flags and zoom in to check for pixelation or artifacts. Amazon Seller Forums can provide tips for catching minor issues.
Monitor Performance
After launch, track sales and traffic. If an item isn’t performing well, test new images or add infographics. Tools like SellerLabs or Amazon’s A/B testing feature can measure the impact of image changes.
Update Seasonally
For products with seasonal relevance (e.g., holiday decor), add new images to reflect the time of year or highlight limited editions. Fresh visuals can renew shopper interest and engagement.
Hire Professionals When Needed
If DIY efforts aren’t producing high-quality results, consider hiring a professional photographer or retoucher. Even small sellers can find affordable talent on platforms like Fiverr. Expert assistance often leads to higher sales and a stronger connection with your audience.
By following these comprehensive guidelines from equipment to editing, you’ll create Amazon product photos that are compliant, visually appealing, and optimized for sales. Remember, Amazon’s first impression of your product is visual. Make it count.
Frequently Asked Questions
1. How many product photos should I have?
You should aim to fill at least six to seven of the available image slots. Anything less feels incomplete and leaves room for customer questions.
A complete image stack usually looks like this:
- The main “hero” image on a pure white background.
- Three to four secondary shots showing different angles, close-ups of materials, or specific features.
- At least one lifestyle photo showing your product in a real-world setting.
- At least one infographic that lays out benefits, dimensions, or what’s included.
Since shoppers can’t touch your product, filling every slot gives them the next best thing and builds confidence.
2. Can I use my smartphone for Amazon photos?
Absolutely. The cameras in modern smartphones are powerful and can produce professional-grade images. By 2026, the camera tech in flagship phones rivals that of entry-level DSLRs from a few years ago. The key isn’t the camera itself but how you manage the environment.
The secret to great smartphone photography is stability and lighting. Always use a tripod to prevent blur, and find a large source of bright, diffused natural light, like a window on an overcast day. This can give you results that are nearly indistinguishable from a full studio shoot.
Don’t skip post-editing. A few minutes spent tweaking brightness, contrast, and color balance can elevate a good shot to a great one.
3. What is the biggest mistake sellers make with photos?
The single biggest mistake is treating the secondary images as an afterthought. Many sellers focus all their effort on the main image and then add a few basic alternate views. This is a huge missed opportunity.
Your main image has to follow Amazon’s strict rules, but the other slots are where you get to sell. This is your space to tell a story, overcome customer hesitation, and build your product’s value. When you don’t use this space for compelling lifestyle shots and infographics, you’re forcing shoppers to rely on text alone. You have to show them why your product is the right choice.
4. Do I need a pure white background for all my images?
No, and you shouldn’t. This is a common point of confusion. Only the main image is required to have a pure white background (RGB 255, 255, 255). This rule keeps Amazon’s search results looking uniform.
For all your other images, you are encouraged to use different backgrounds, props, and environments. Lifestyle images are effective because they help customers picture themselves using the product, which is a powerful psychological trigger for a purchase. A well-staged photo connects with a shopper on an emotional level that a product-on-white shot can’t.